-
Troppo Plant & Garden Articles
- Te Puke Region
- TROPPO’s Food Forest in Te Puke, BOP (www,foodforest.org.nz)
- Troppo’s Plant Collection
- TROPPO's Nursery Directory
- Food Forests of New Zealand (www.foodforests.nz)
- Nursery Map - Plant Suppliers of NZ Directory (www.nurserymap.nz)
- Kids Garden Corner
- New Zealand Garden Bird Survey
- New Zealand Garden Groups
- Delicious Recipes
Kale Growing Guide for New Zealand: Leafy Greens for Every Season! 🌿🥬
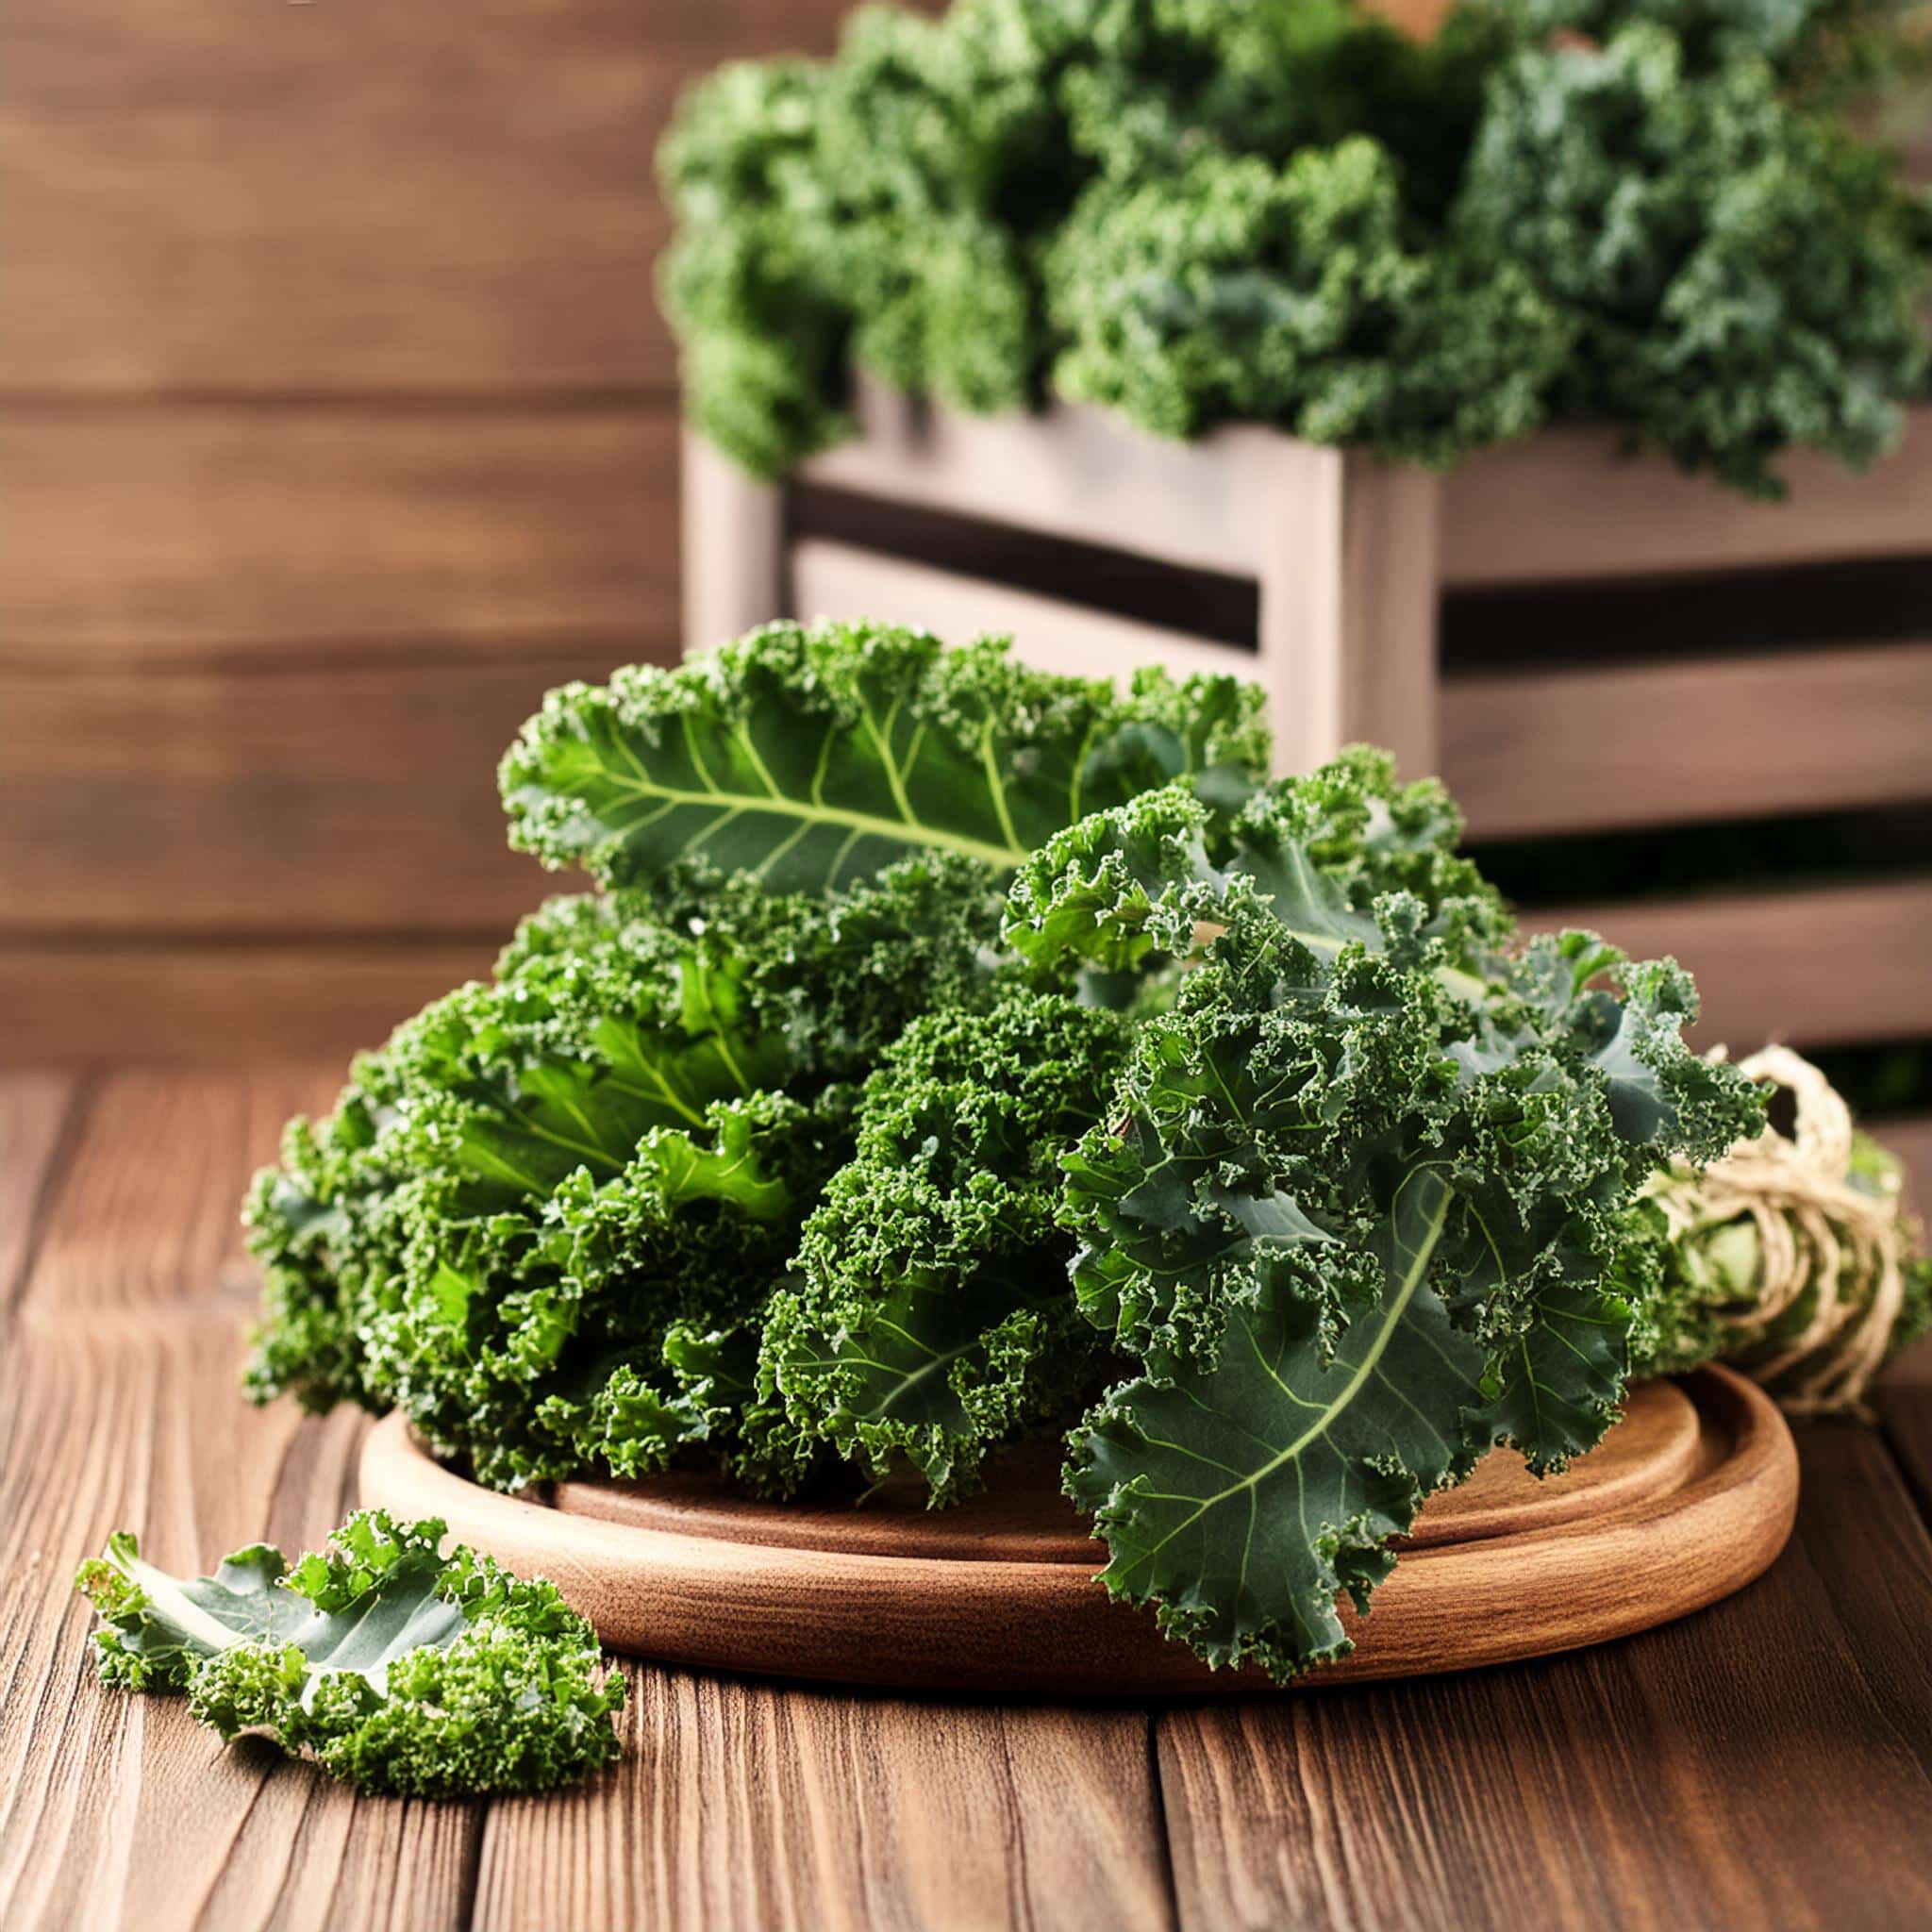
Welcome to the wonderful world of kale growing in New Zealand! Whether you’re a seasoned gardener or just starting your green thumb journey, kale is a fantastic addition to any garden. This nutrient-packed superfood is not only delicious but also incredibly easy to grow. Let’s dive into this fun and comprehensive guide to help you cultivate lush, leafy kale that will keep you harvesting fresh greens all year round! 🌟🌱
Why Grow Kale? 🌿
Kale is the ultimate powerhouse green! Here’s why it deserves a spot in your garden:
- Super Nutritious: Packed with vitamins, minerals, and antioxidants, kale is a nutritional superstar. It’s great for boosting your health and adding a burst of green goodness to your meals. 🥗
- Easy to Grow: Kale is a hardy and versatile crop that can thrive in a variety of conditions. It’s perfect for both beginners and experienced gardeners. 🌱
- Year-Round Harvest: With the right care, kale can be grown and harvested all year round, providing a continuous supply of fresh greens. 🌞❄️
- Versatile in the Kitchen: From salads and smoothies to soups and stir-fries, kale is incredibly versatile and can be used in countless delicious dishes. 🍽️
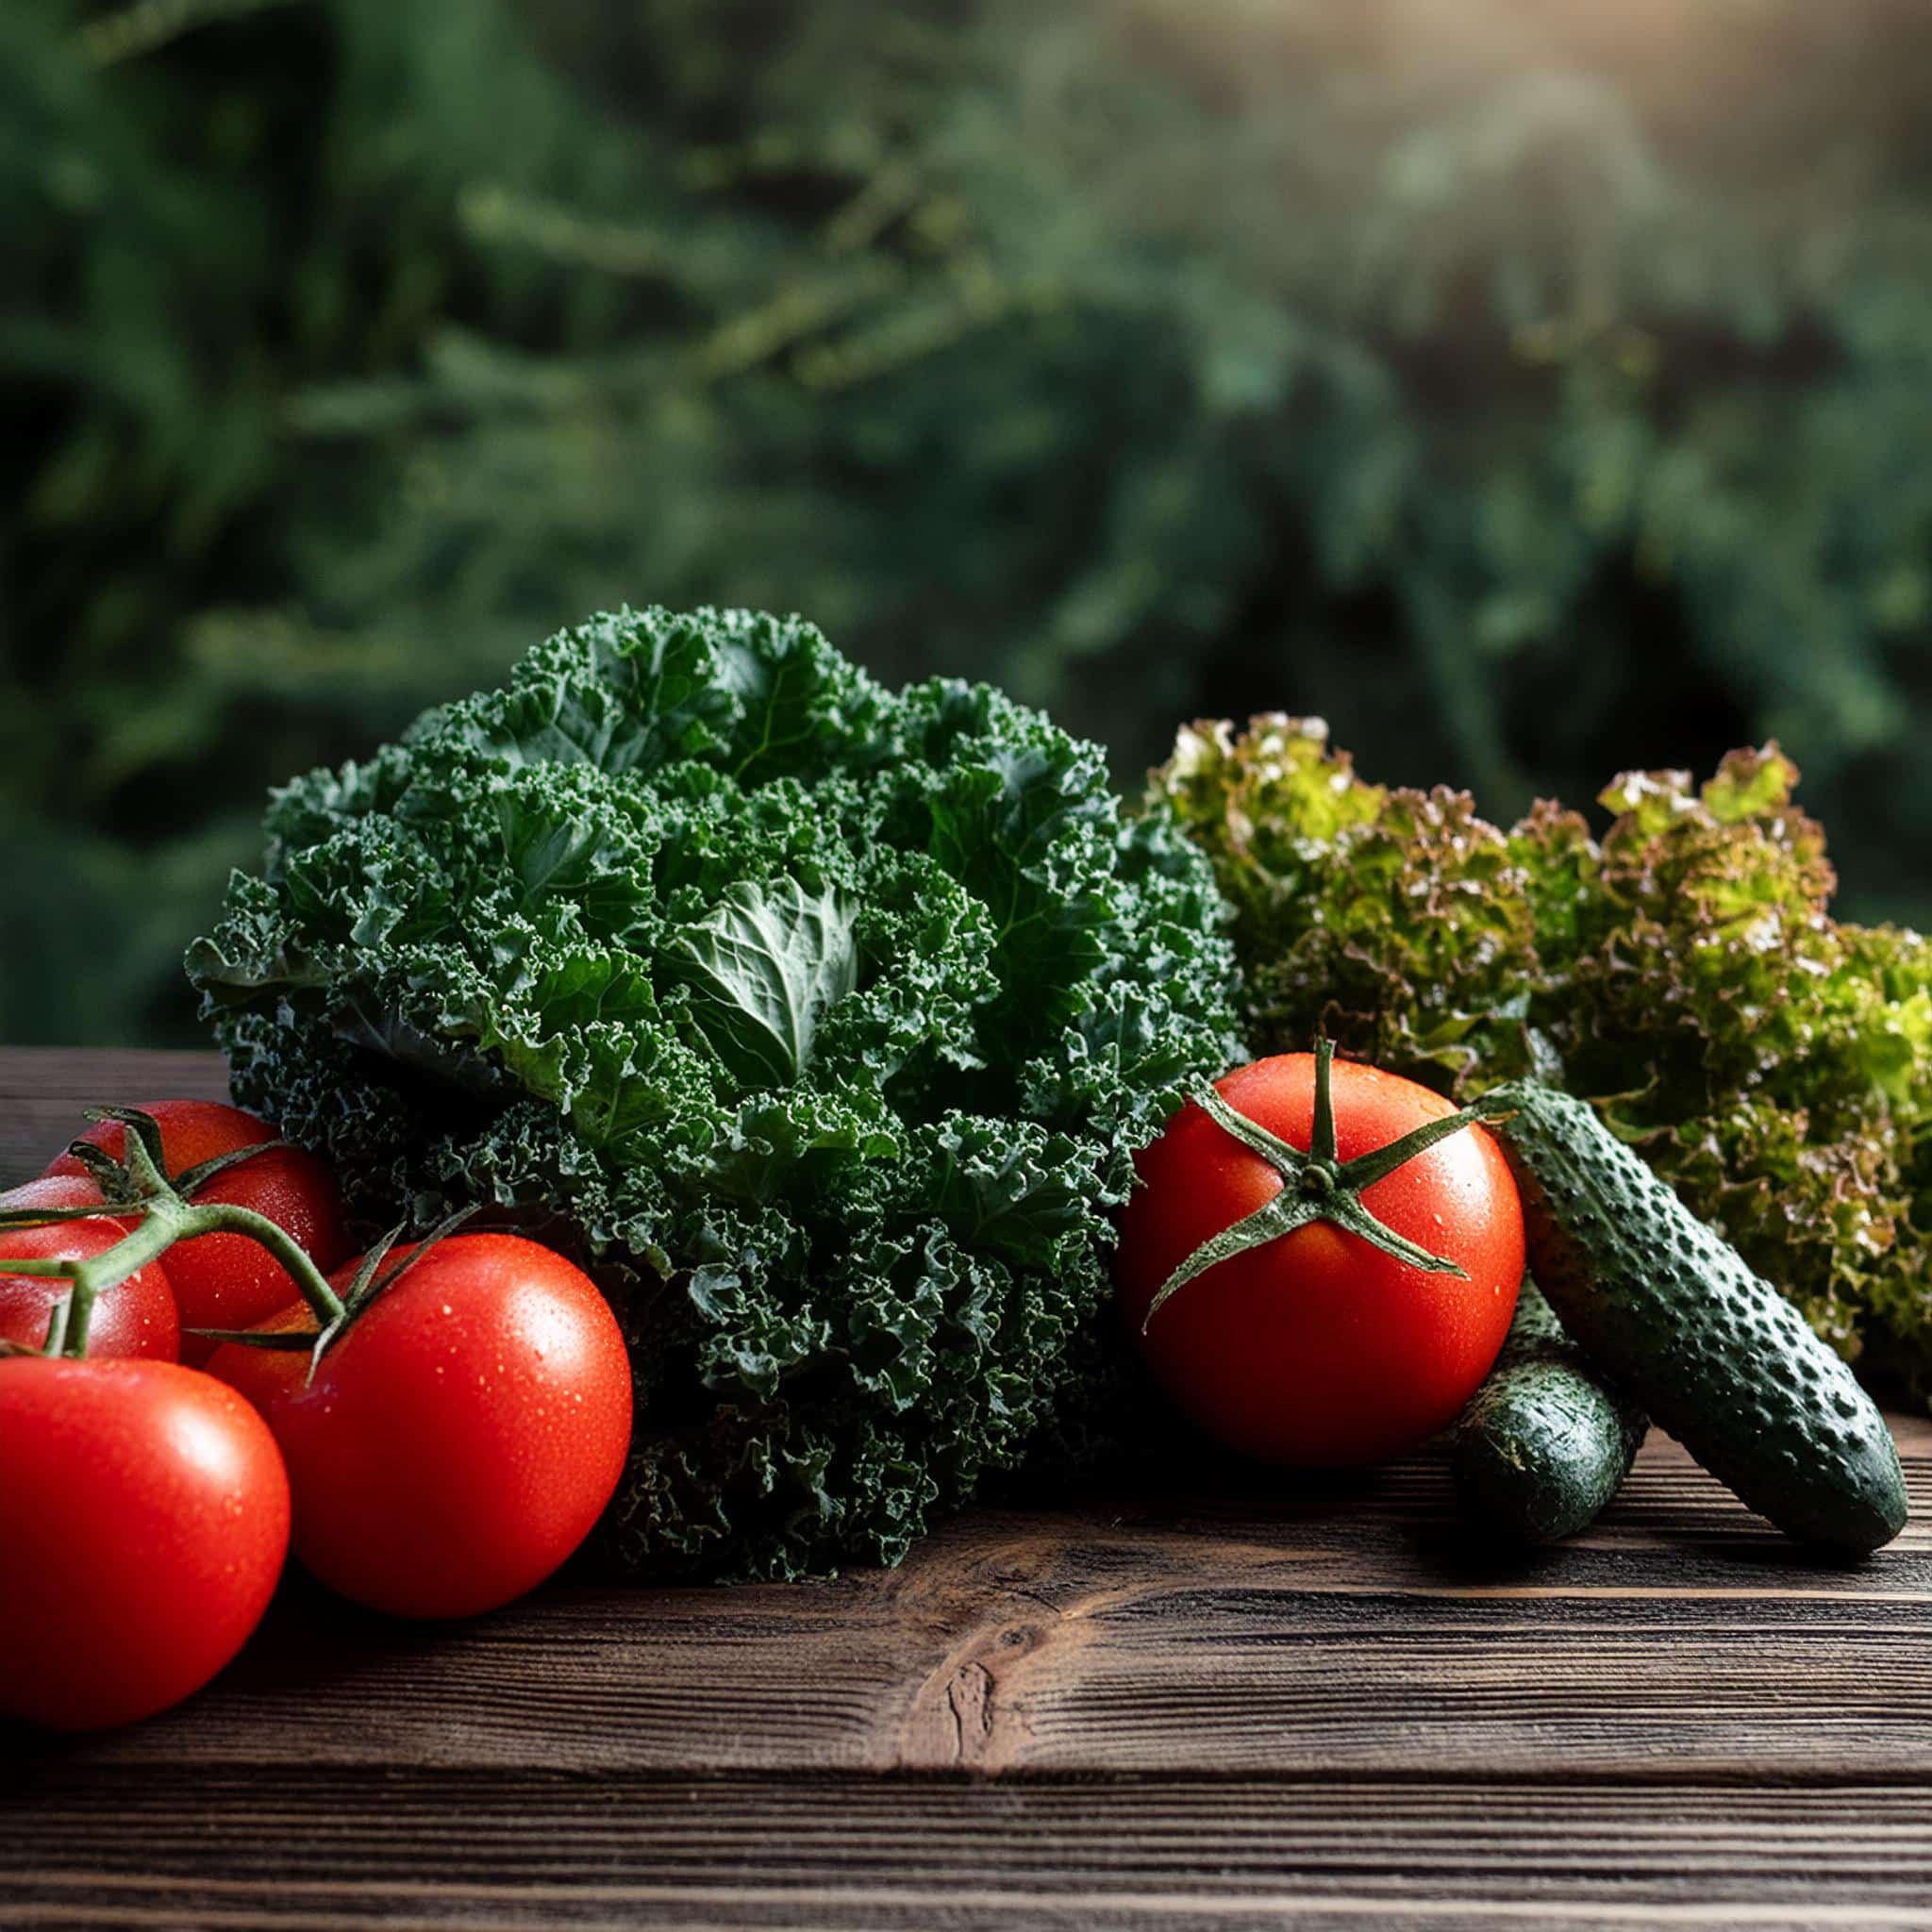 Choosing the Right Kale Varieties 🥬
Before you start planting, select the kale varieties that best suit your taste and growing conditions. Here are some popular types to consider:
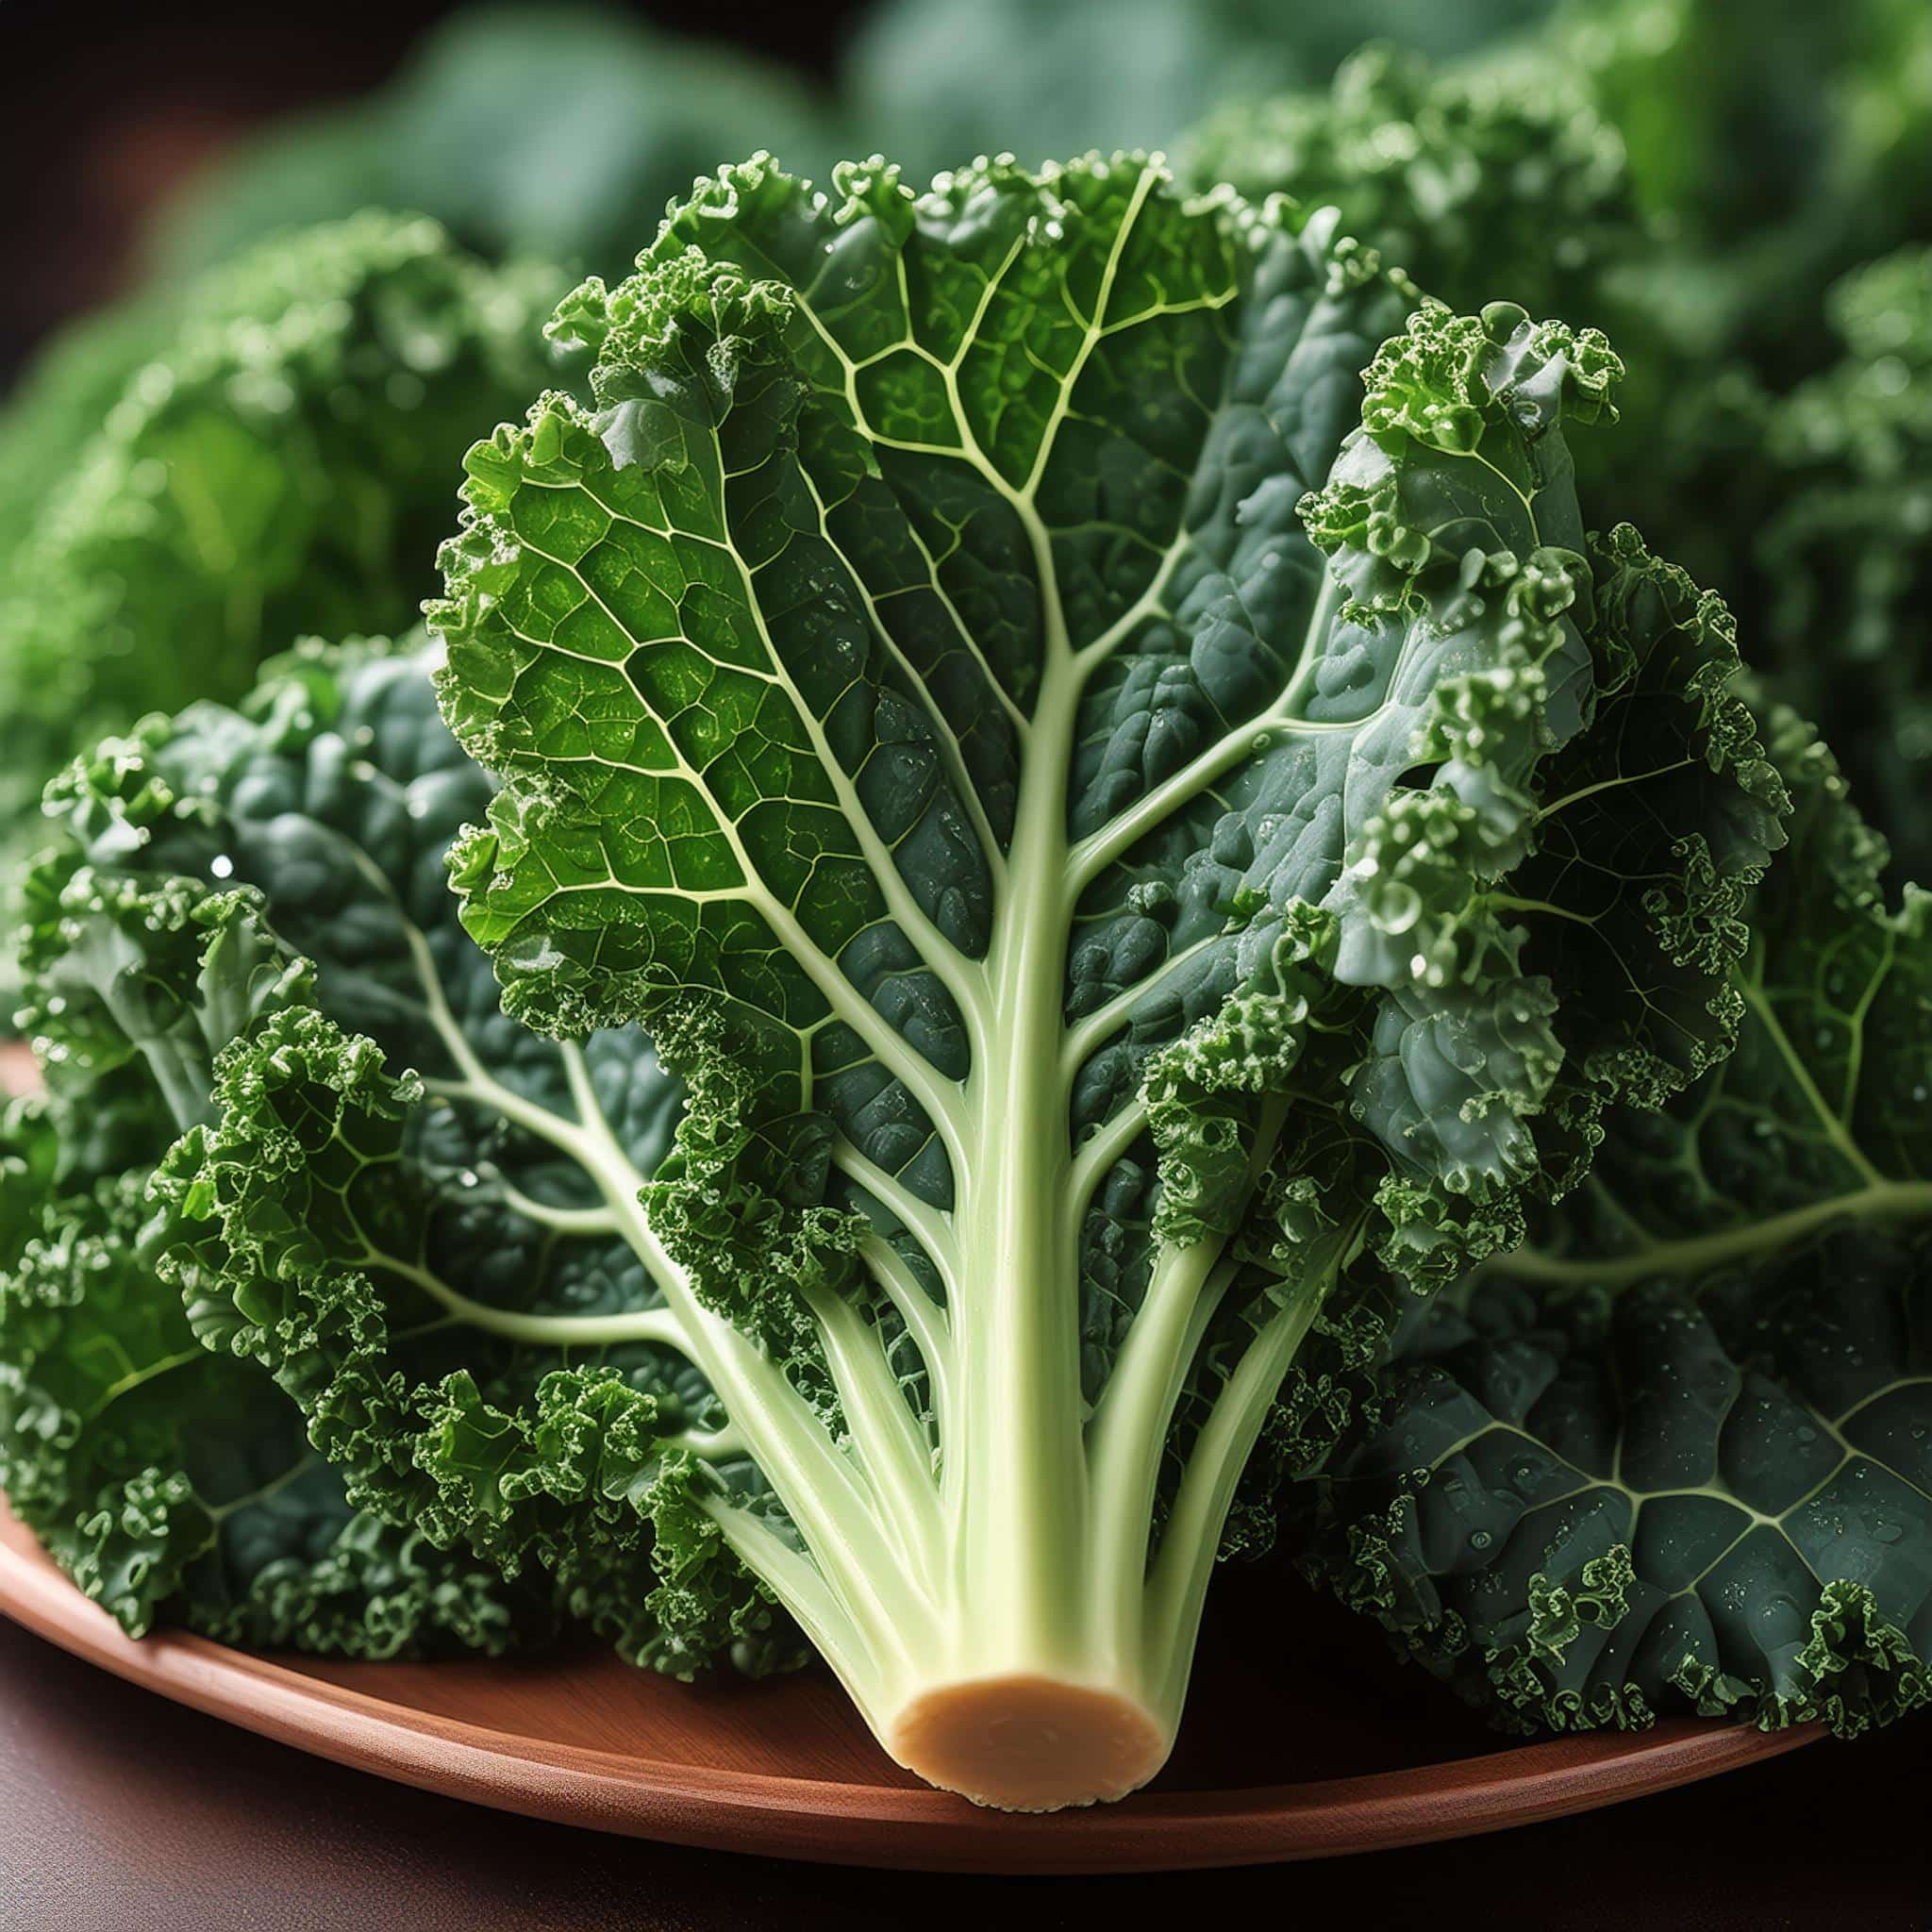
- Curly Kale: Known for its frilly leaves and robust flavor, curly kale is a classic choice that’s great for salads, soups, and chips. 🌟
- Tuscan Kale: Also called Lacinato or Dinosaur kale, this variety has dark, bumpy leaves and a slightly sweeter taste. Perfect for cooking and adding to hearty dishes. 🌱
- Red Russian Kale: With its tender, purple-tinged leaves, red Russian kale is beautiful and mild-flavored, ideal for fresh eating. 🌿
- Siberian Kale: Extremely cold-hardy, Siberian kale has large, flat leaves and a mild taste. It’s great for growing in cooler climates. ❄️
- Baby Kale: Harvested young, baby kale leaves are tender and perfect for salads and sandwiches. 🥗
Planting Your Kale 🌱
Ready to get your kale growing? Follow these steps to start planting:
1. Find the Perfect Spot 🌞
Kale thrives in full sun to partial shade. Choose a sunny spot in your garden that gets at least 4-6 hours of sunlight each day. Kale can also tolerate some shade, especially during hot summer months. 🌤️
2. Prepare the Soil 🌱
Work plenty of compost or well-rotted manure into the soil before planting to boost fertility and improve drainage. Kale prefers slightly acidic to neutral soil with a pH of 6.0-7.0. 🌿
3. Planting Seeds or Seedlings 🌾
You can start kale from seeds or seedlings. Sow seeds directly into the garden about 1 cm deep and 30 cm apart in rows spaced 45 cm apart. If planting seedlings, space them 30-45 cm apart. For continuous harvests, sow seeds every 2-3 weeks. 🌱
4. Watering and Mulching 💧
Keep the soil consistently moist but not waterlogged. Water your kale regularly, especially during dry spells. Apply a layer of mulch around the plants to help retain moisture and suppress weeds. 🌿
Caring for Your Kale 🌿
With a little care, your kale will thrive and produce bountiful harvests. Here’s how to keep it happy and healthy:
1. Feeding for Growth 🌱
Feed your kale with a balanced fertilizer or compost tea every 4-6 weeks during the growing season. Kale is a heavy feeder and benefits from regular nutrient boosts to support lush growth. 🌿
2. Pest and Disease Management 🐛
Watch out for common pests like aphids, cabbage worms, and slugs. Use organic pest controls or insecticidal soap to manage infestations. Ensure good air circulation around the plants to prevent fungal diseases like powdery mildew. 🐞
3. Thinning and Weeding 🌿
Thin your kale seedlings to ensure they have enough space to grow into large, healthy plants. Keep the area weed-free to reduce competition for nutrients and water. 🌱
Harvesting Your Kale 🥬
The best part of growing kale is enjoying fresh, homegrown greens! Here’s how to know when your kale is ready to pick:
1. Timing the Harvest ⏰
Start harvesting kale leaves when they are about the size of your hand. Pick the outer leaves first, leaving the inner leaves to continue growing. You can begin harvesting baby kale leaves as soon as they are large enough to eat. 🌿
2. Enjoying the Harvest 🍽️
Gently snap or cut the leaves from the stem, taking care not to damage the plant. Freshly picked kale can be used in a variety of dishes, from salads and smoothies to soups and sautés. Store harvested leaves in the refrigerator to keep them fresh. 🥗
Top Tips for Growing Kale 🌟
- Succession Planting: Sow kale seeds every few weeks to ensure a continuous harvest throughout the year. 🌾
- Companion Planting: Plant kale alongside herbs like basil or dill to deter pests and enhance growth. Avoid planting near cabbage or other brassicas to reduce the risk of disease. 🌼
- Use Raised Beds: If you have heavy or poorly draining soil, consider using raised beds to improve conditions for your kale. 🌿
- Extend the Season: In cooler areas, use row covers or cloches to protect young plants and extend the growing season. 🌤️
- Experiment and Have Fun: Try growing different varieties and experimenting with new recipes. Kale is versatile and fun to grow! 🌱
With these tips and a bit of care, you’ll be on your way to growing a bountiful crop of delicious, homegrown kale. Happy gardening and enjoy your kale adventure! 🌿🥬

